Steps to integrate Delhivery B2B Carrier
Step 1: Obtain the Delhivery panel credentials (registered email ID and password) from the customer. Log in to the account using the [Delhivery login link].
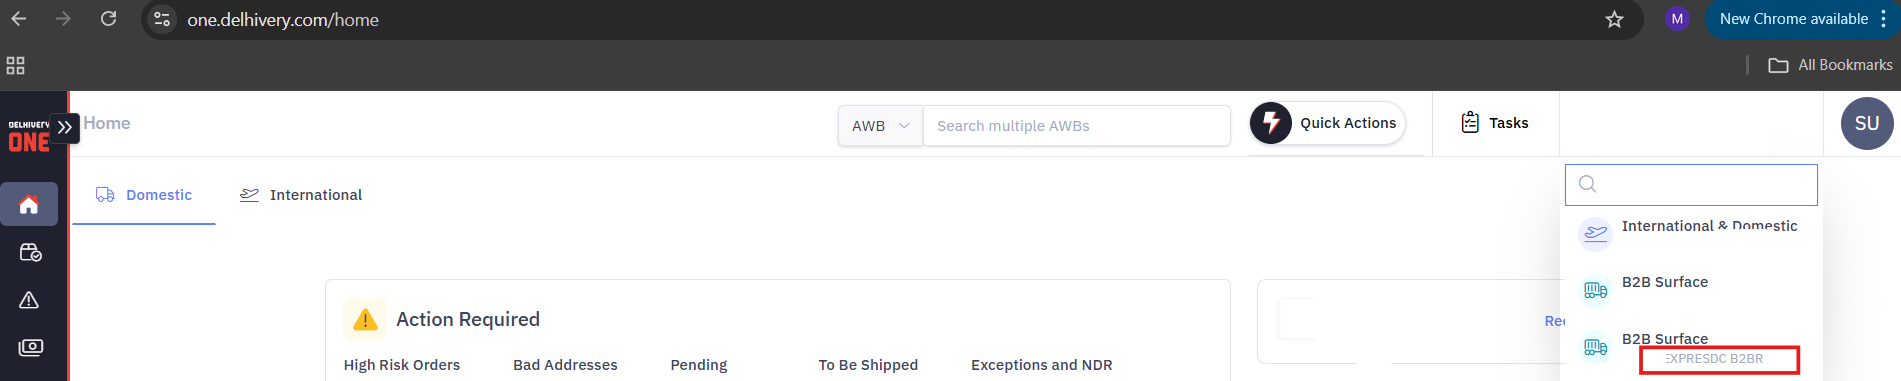
Step 2: After logging in, check the users available on the right-hand side of the account. Confirm with the customer which users need to be configured in eShipz.
Step 3: Based on the required users, use the following API to reset the password and obtain the API user password. The reset password link will be sent to the customer’s registered email ID, and they can set the password themselves.
curl --location 'https://ltl-clients-api.delhivery.com/forgot-password' \
--header 'Connection: keep-alive' \
--header 'Content-Type: Application/json' \
--data '
{
"username": "TESTABCB2BRC"
}
'
Step 4: Obtain the newly set password from the customer and validate it using the login API. If the token is successfully generated with the added credentials, proceed with the following steps to complete the configuration. If any errors occur during API login, contact the Delhivery SPOC to resolve them.
curl --location 'https://ltl-clients-api.delhivery.com/ums/login' \
--header 'Content-Type: application/json' \
--data-raw '{
"username": "TESTABCB2BRC",
"password": "Test1234@"
}'
Step 5: Log in to the eShipz account → Navigate to Settings → Click on Carriers to proceed with the configuration.
Step 6: The “Shipper Accounts” page will now be displayed. Click on the ‘+’ icon visible at the right top corner.
Step 7: “Select Carrier” page will now be displayed and you can choose “DELHIVERY B2B” carrier from the list.
Step 6: Fill the required details in: Description, Username, Password, Client id, Warehouse id fields.
‘Allow multi pickup’ checkbox: when the customer has more than one pickup warehouse location, then they will have to enable this checkbox.
Note: Username, Client ID and Warehouse ID remains same of API Username and password is reset password.
Note: Username, Client ID and Warehouse ID remains same of API Username and password is reset password.
Step 7: Label Settings: In Label Settings there are several label formats mentioned, sample templates for the same can be viewed by clicking on ‘How Does it look?’, which is present just beside the format name. Based on the format of label required, choose the options under Label Settings. If none of the options are selected then the default label will be generated in DELHIVERY B2B Custom-Default Label (A5/A4) format after shipment creation.
Step 8: “Upload Logo”, users can upload the image here that they want to showcase in the labels. Valid file formats for upload are PNG, GIF and JPEG. Logo upload is NOT applicable for DELHIVERY B2B Custom-Default Label (A5/A4) label format. If the logo is not uploaded then normal labels will be generated without the logo.
Step 9: “Product Mask” - generally description of Items will be displayed on label. If the user wants to mask the items on the label with some specific name it can be done by entering the value on the Product Mask field in the shipper account page. In the label, data entered on the Product Mask field will be displayed instead of items being shipped.
Step 10: “Message”, data entered in this field will be displayed at the bottom of the label.
Step 11: "Shipper Setting"
- Enabling the “Hide Shipper Address On Label” checkbox, hides the shipper address on the label i.e., shipper address will not be displayed on label.
- Enabling the “Hide Shipper Name On Label” checkbox, hides shipper name on the label.
- Enabling the “Hide Shipper Company On Label” checkbox, hides shipper company name on the label.
- Enabling the “Hide Shipper Company On Label” checkbox, hides shipper company name on the label.
- Enabling the “Hide Entire Shipper Details On Label” checkbox, hides entire shipper details on the label.
- Enabling the “Hide Entire Return Address On Label” checkbox, hides the return address on the label.
- Enabling the “Hide Invoice Value On Label” checkbox, hides the invoice value on the label.
Step 12: Check the “I Agree to the Terms & Conditions of the Carrier” checkbox after reading the terms and conditions document and click on the “Validate & Save” button.
Step 13: “Updated credentials Successfully!” message will be displayed on ‘Shipper Accounts’ page.
Serviceable Pin Code Upload
- Click on the ‘Edit’ icon for the account created in the above step on ‘Shipper Account’ page, ‘Edit Shipper Account For Carrier‘ page will be displayed, scroll down till “Pincode” block and click on ‘DOWNLOAD CSV FORMAT FILE’ link, the file will be downloaded and fill all the Prepaid and COD pin codes in the file and upload the file by clicking on ‘Upload’ button.
- A Success message will be displayed stating ‘Pin Codes have been uploaded!’
Now, you can go ahead and create shipments for the configured Delhivery B2B carrier.
Related Articles
Steps to integrate Delhivery Carrier
STEP 1: On the eShipz platform dashboard, select the “Integrations” tab and in the dropdown click on “Carriers”. Image:1 STEP 2: The “Shipper Accounts” page will now be displayed. Click on the ‘+’ icon visible at the top right corner. Image:2 STEP 3: ...Steps to integrate Delhivery Surface Carrier
STEP 1: On the eShipz platform dashboard, select the “Integrations” tab and in the dropdown click on “Carriers”. STEP 2: The “Shipper Accounts” page will now be displayed. Click on the ‘+’ icon visible at the top right corner. STEP 3: “Select ...Steps to integrate Expeditors Carrier
STEP 1: On eShipz platform dashboard, click on the “Settings” tab and under Integrations, select “Carriers”. Image: 1 Step 2: The “Shipper Accounts” page will now be displayed. Click the “+” icon visible at the top right corner. Image: 2 STEP 3: The ...Steps integrate PICOXPRESS carrier
Step 1: Log in to your eShipz account. Step 2: Go to Settings. Step 3: Click on Carriers. Step 4: The “Shipper Accounts” page will now be displayed, click on ‘+’ icon visible at the top right corner. Step-5: Select Picoxpress from the list of ...Steps integrate Pidge carrier in new Ui
This article provides detailed instructions on how to integrate the Pidge carrier with your eShipz account. This integration process applies to both B2C and B2B shipping services. Step 1: Login to eShipz account Step 2: Navigate to Settings → ...