Steps to integrate Shopify Sales Channel into eShipz platform
Introduction:
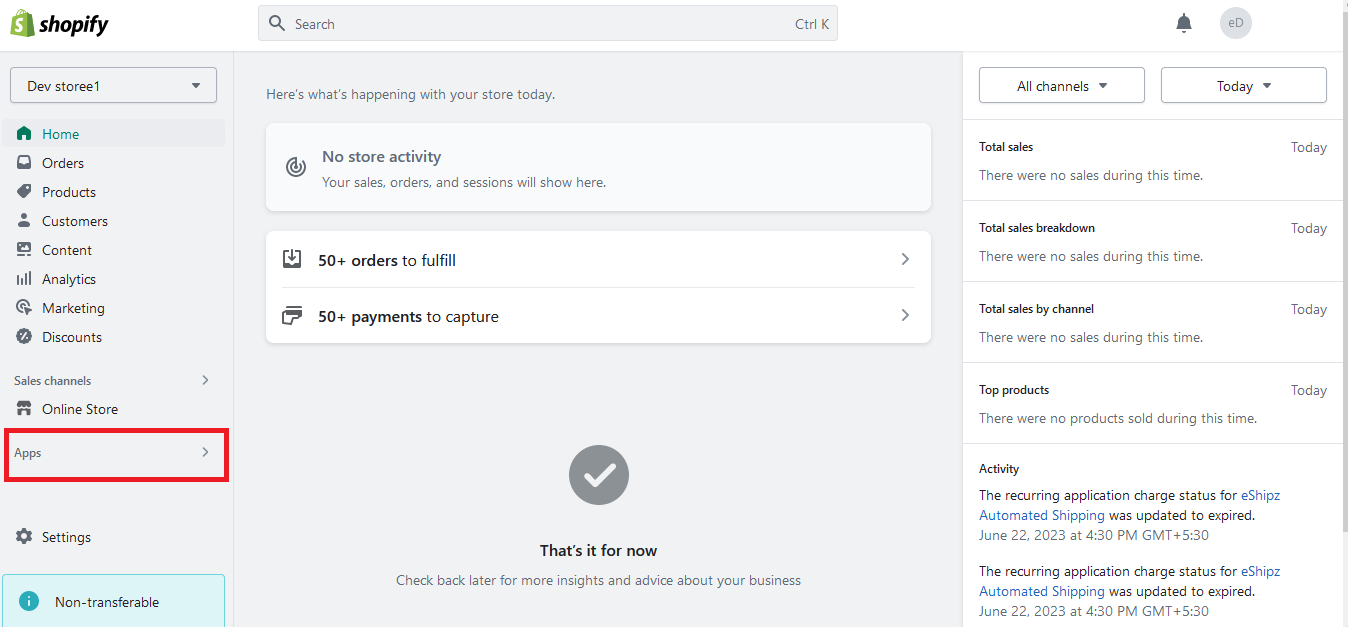
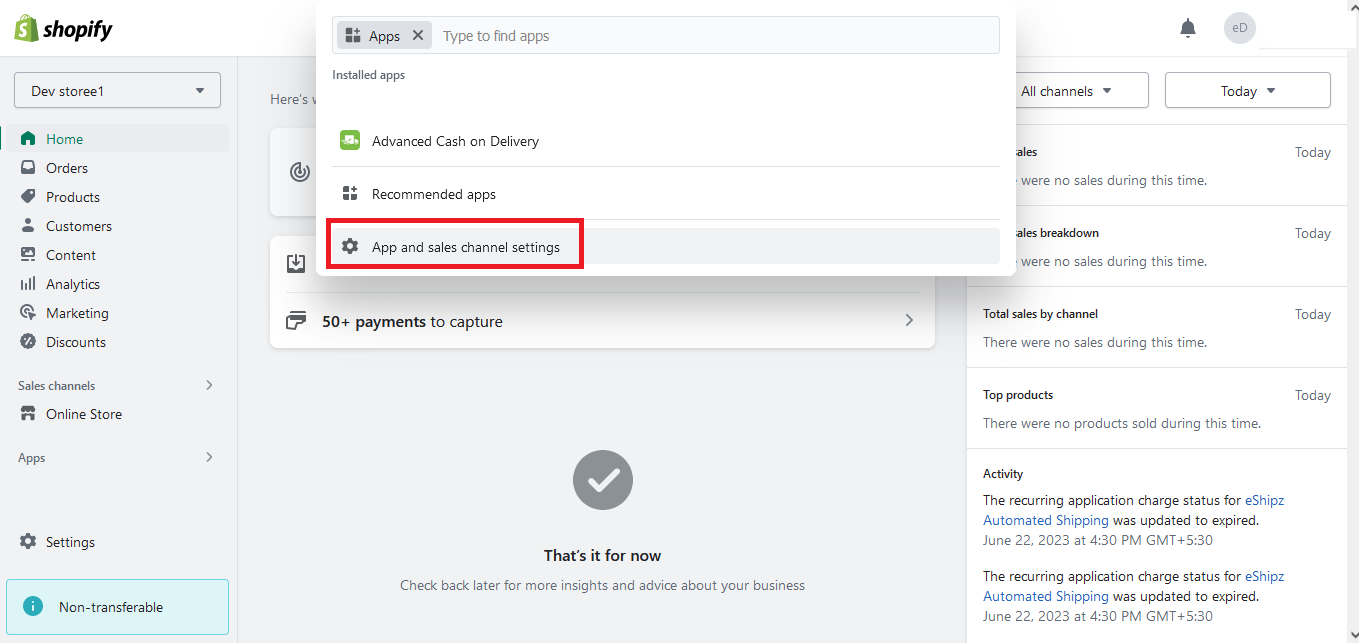
On the Home page, click on the ‘Apps’ tab in the menu section on the left, you will be redirected to the Apps page.
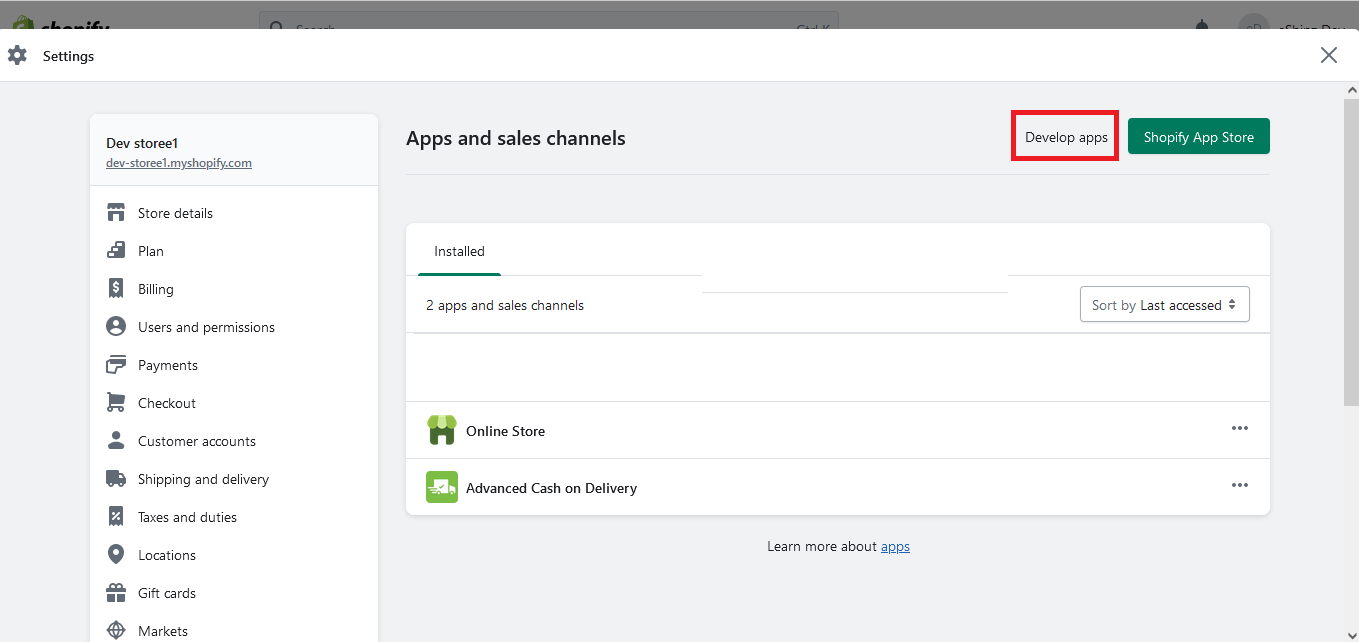
STEP2:
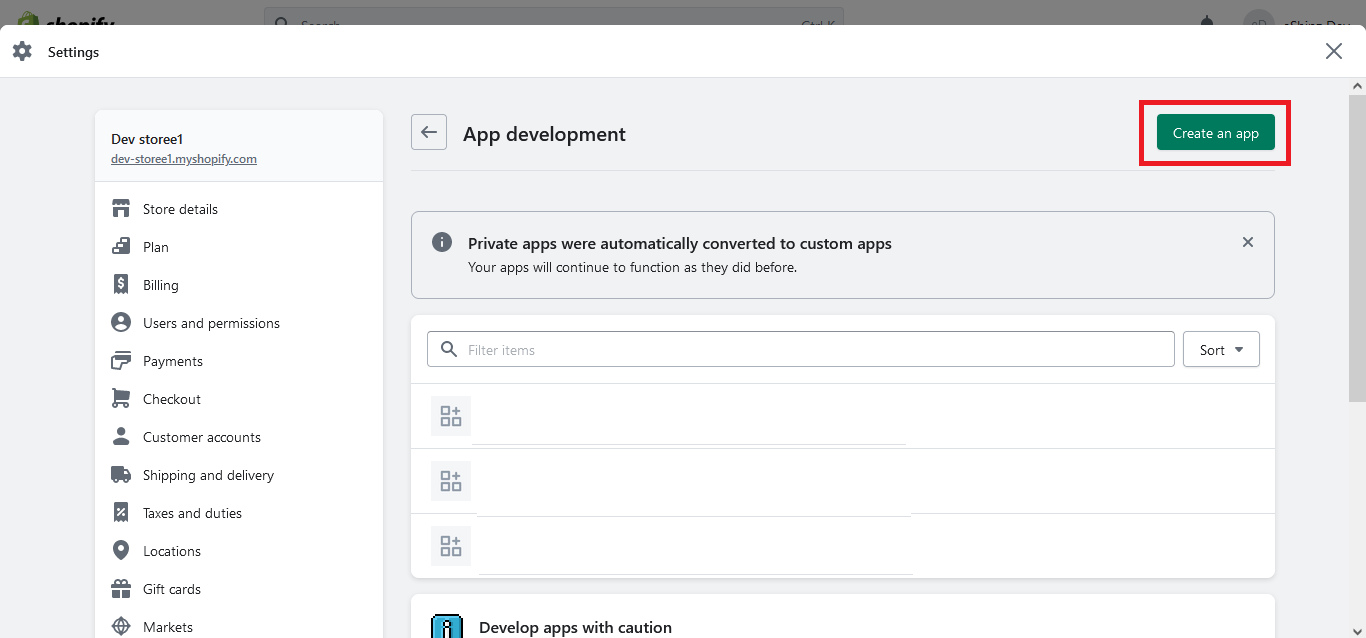
STEP 3:
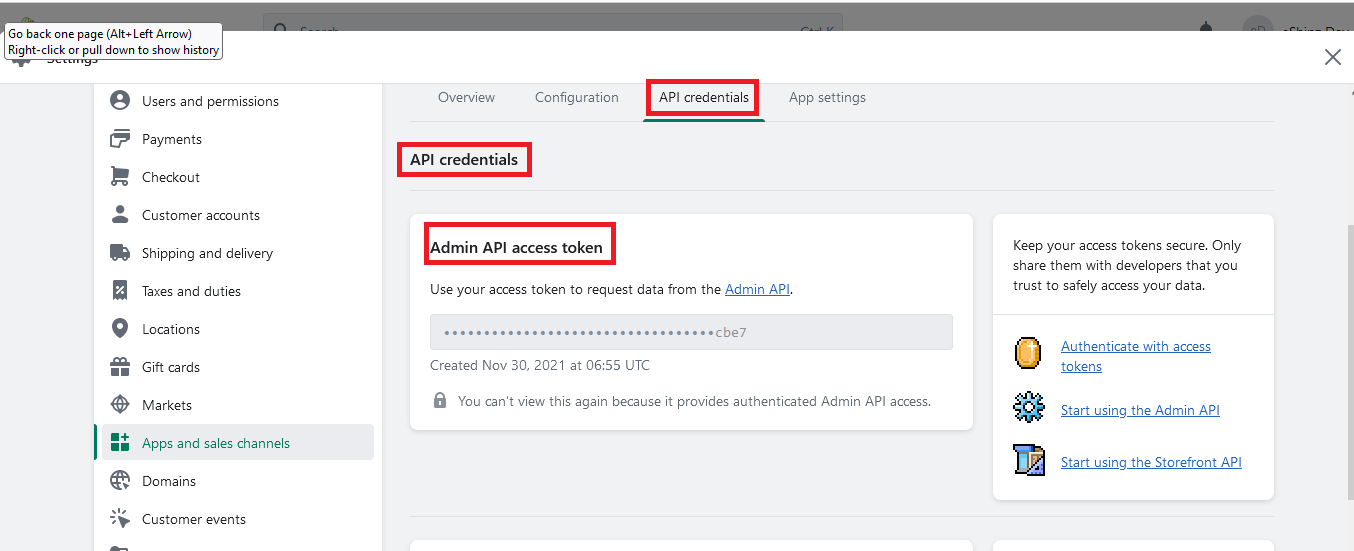
On the Create private app page, Under App details enter the details for ‘Private app name’ and ‘Emergency developer email’ and click on ‘Show inactive Admin API permissions’ dropdown


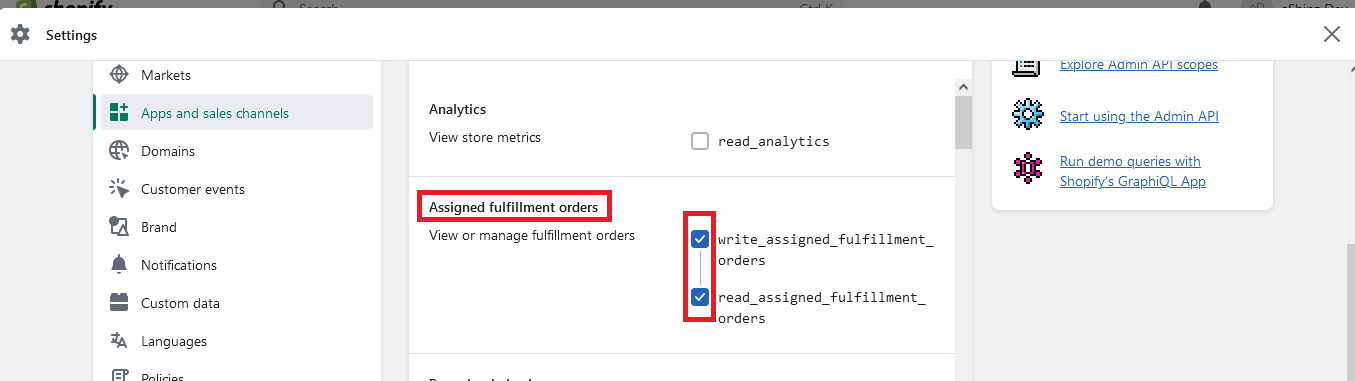
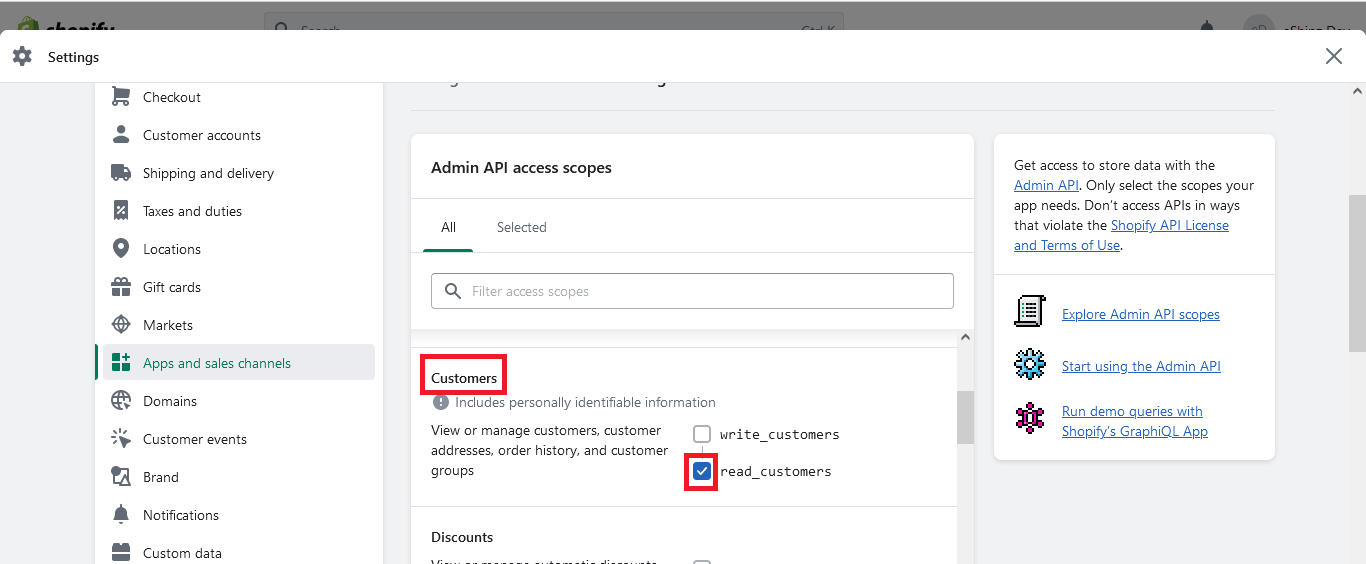

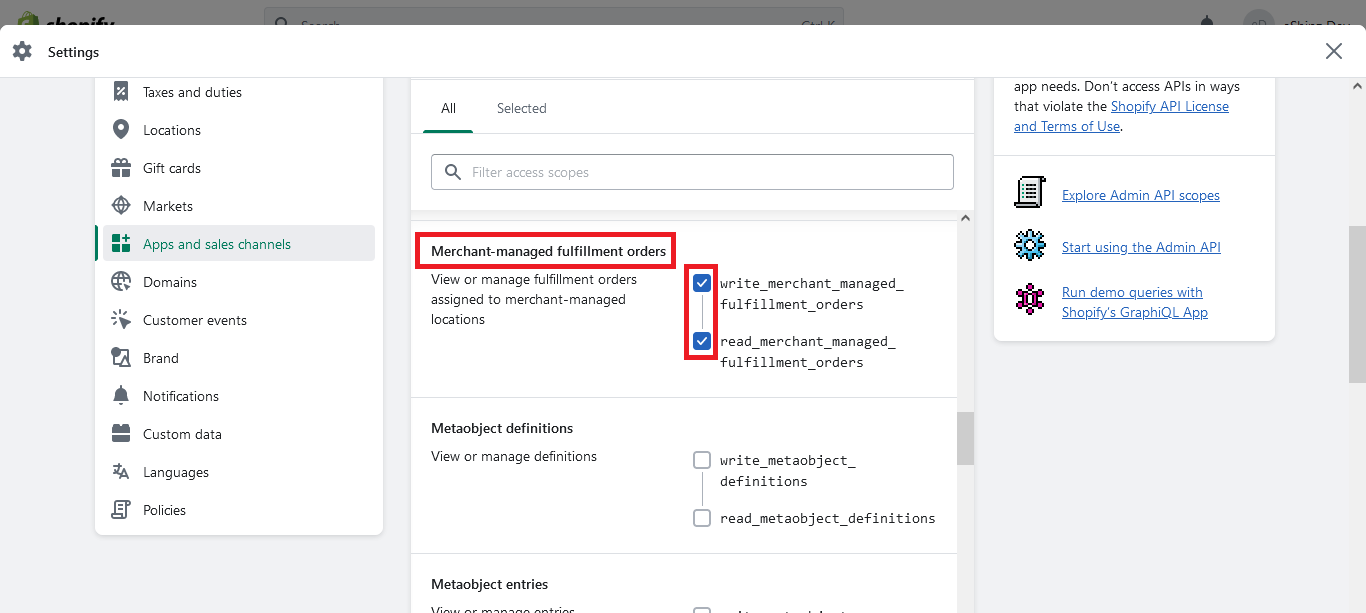


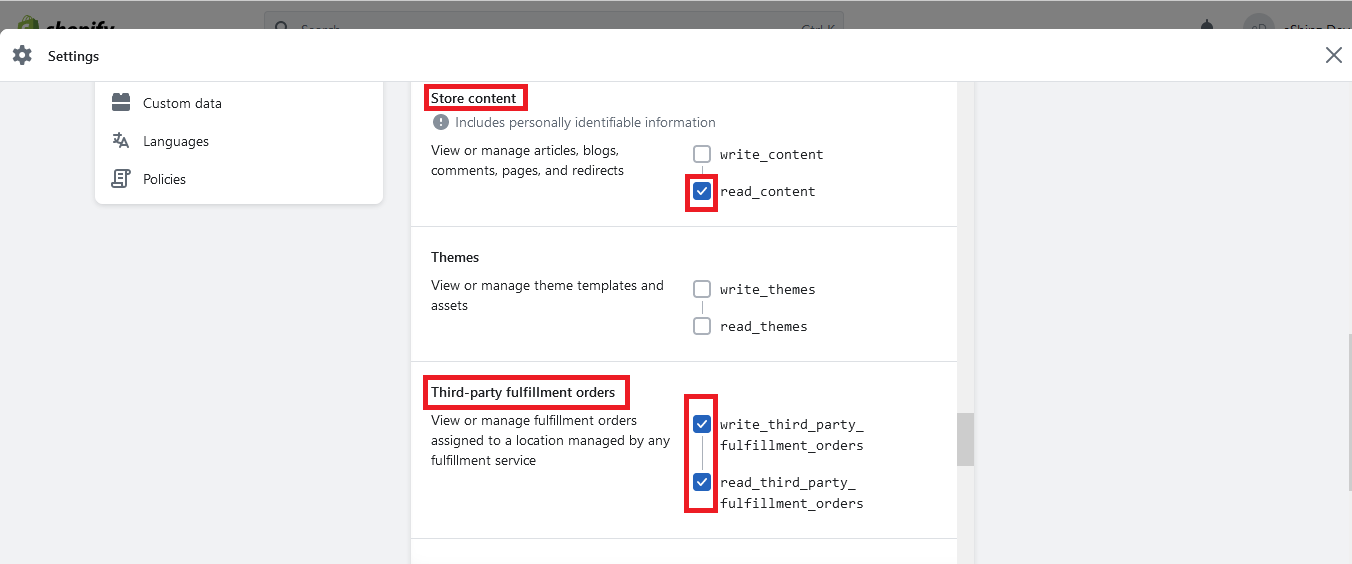
If anything is missing, you will be notified by a validation message. Go over and re-check the steps. If all the steps are followed, a private app will be created and a ‘Private app created successfully’ message will be displayed.

STEP7:
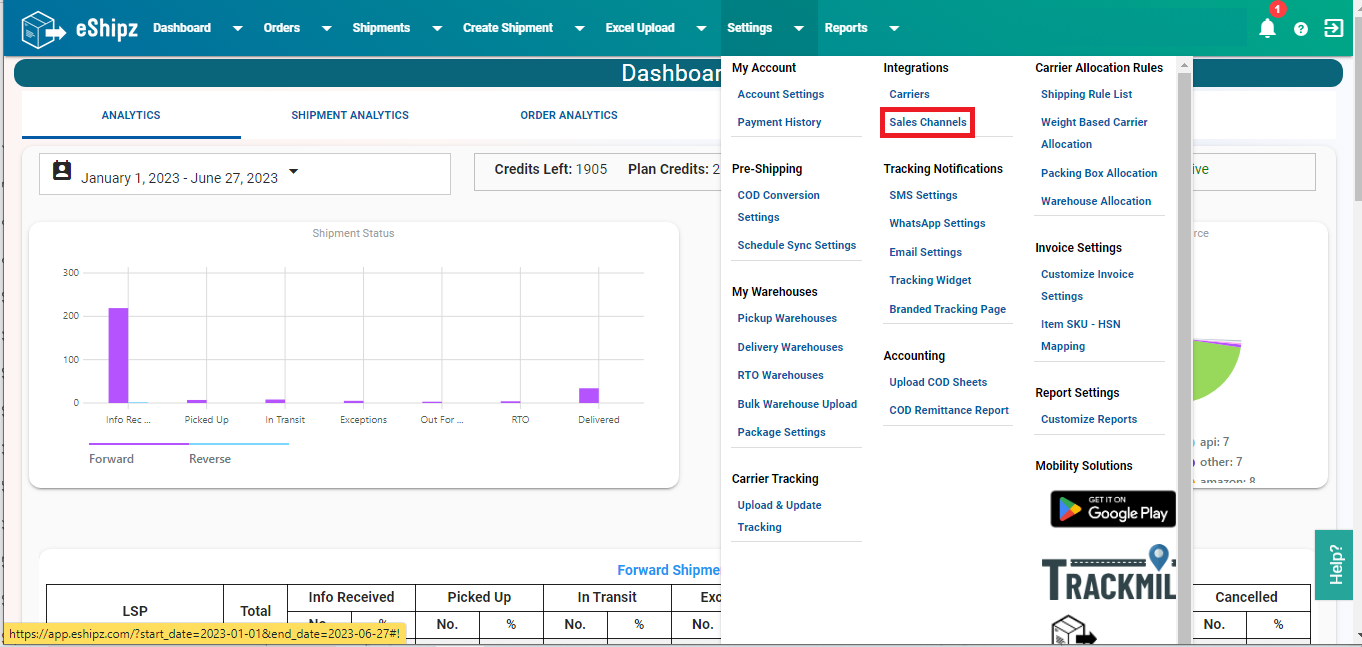
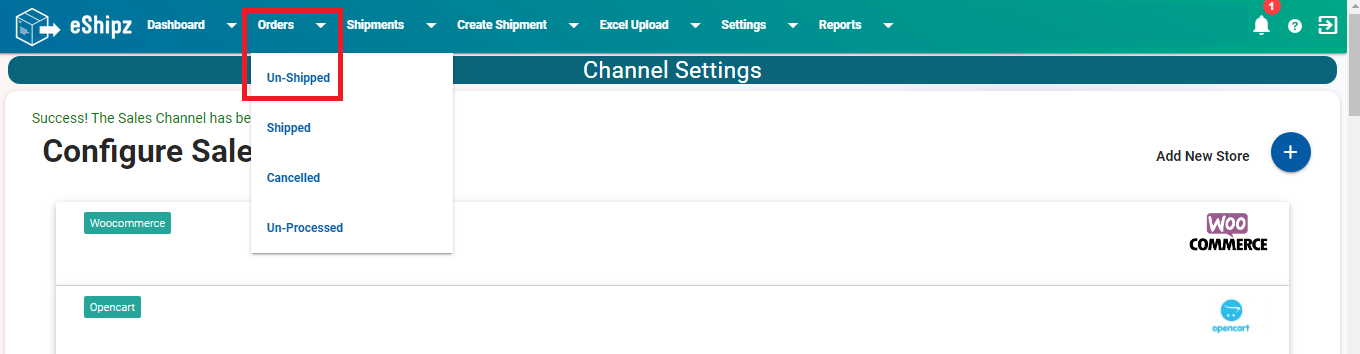
Login to your eShipz platform, go to the “Integrations” dropdown and click on the ‘Sales channel’ option.
In the Channel settings page, click on Shopify channel
[a]Enter the Shop Name from the URL in STEP 1 under field ‘Store Name’.
[b]Paste the credentials from STEP 6 in the ‘API Key’ and ‘Password’ fields respectively.
[c]Select the required option from ‘Fulfillment Status’ and ‘Filter By Order Status’ drop-down
[d]Check[enable] ’Active Channel’ checkbox and click on ‘SAVE’ button


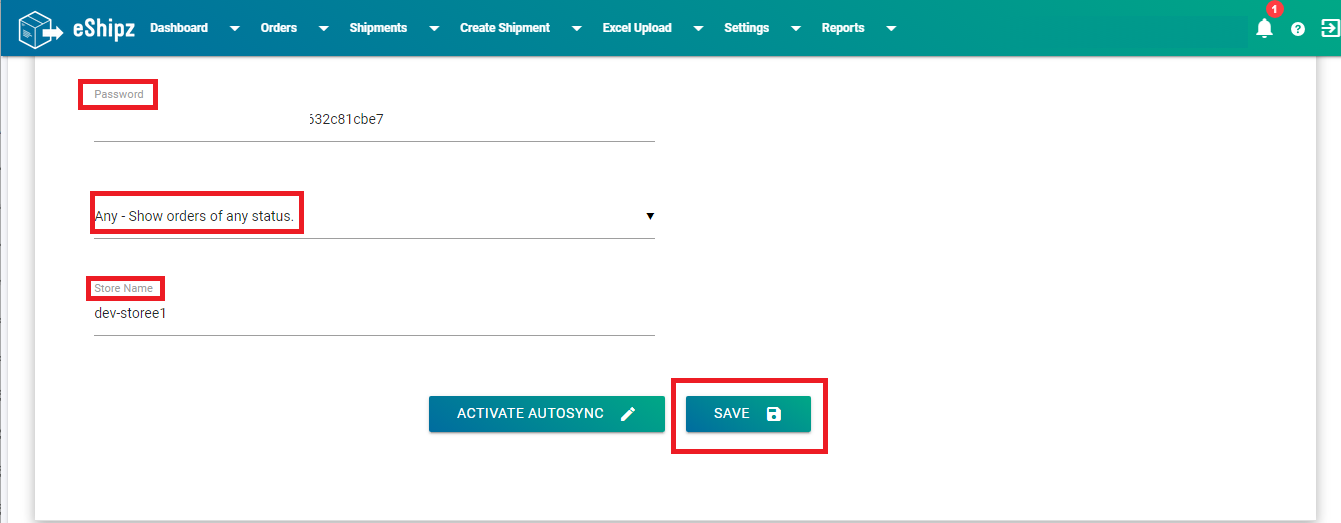
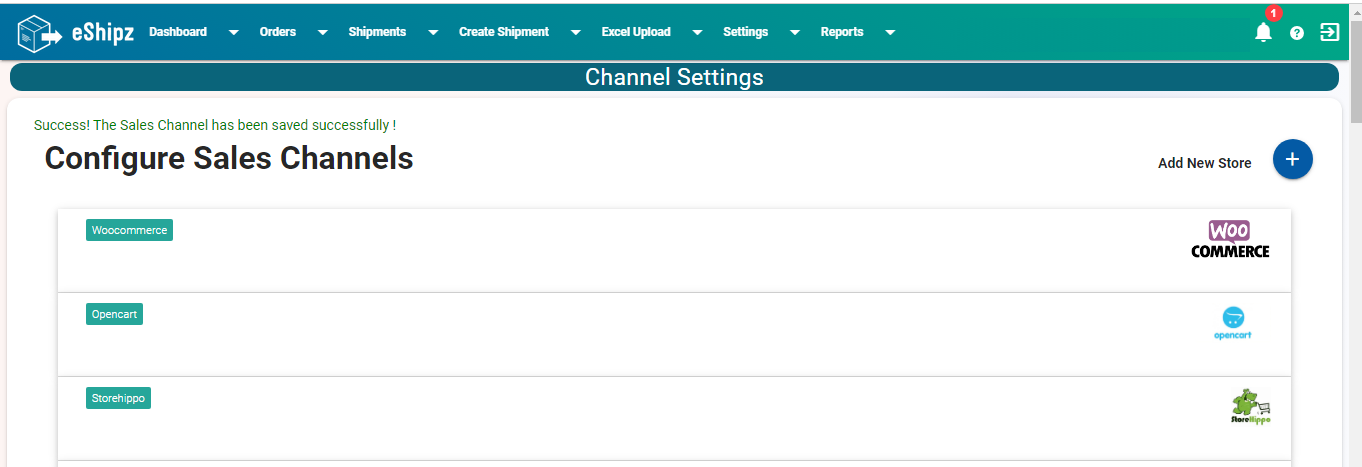
If the credentials inputted are wrong then an “Error! The Sales Channel Details Are Not Valid!” message will be displayed. In that case, recheck the credentials and try again. If credentials entered are valid, a success message will be displayed in the eShipz platform stating “Success! The Sales Channel has been saved successfully !”
Now we will be able to sync the Shopify Orders into the eShipz platform.
STEP 8:
The ‘My Orders’ page will now be displayed and click on ‘Sync’ button [1] and then click on ‘Refresh’ button[2]
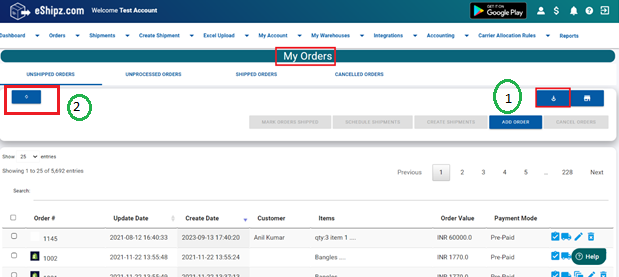
The orders from the Shopify sales channel will now be synced to the eShipz platform.
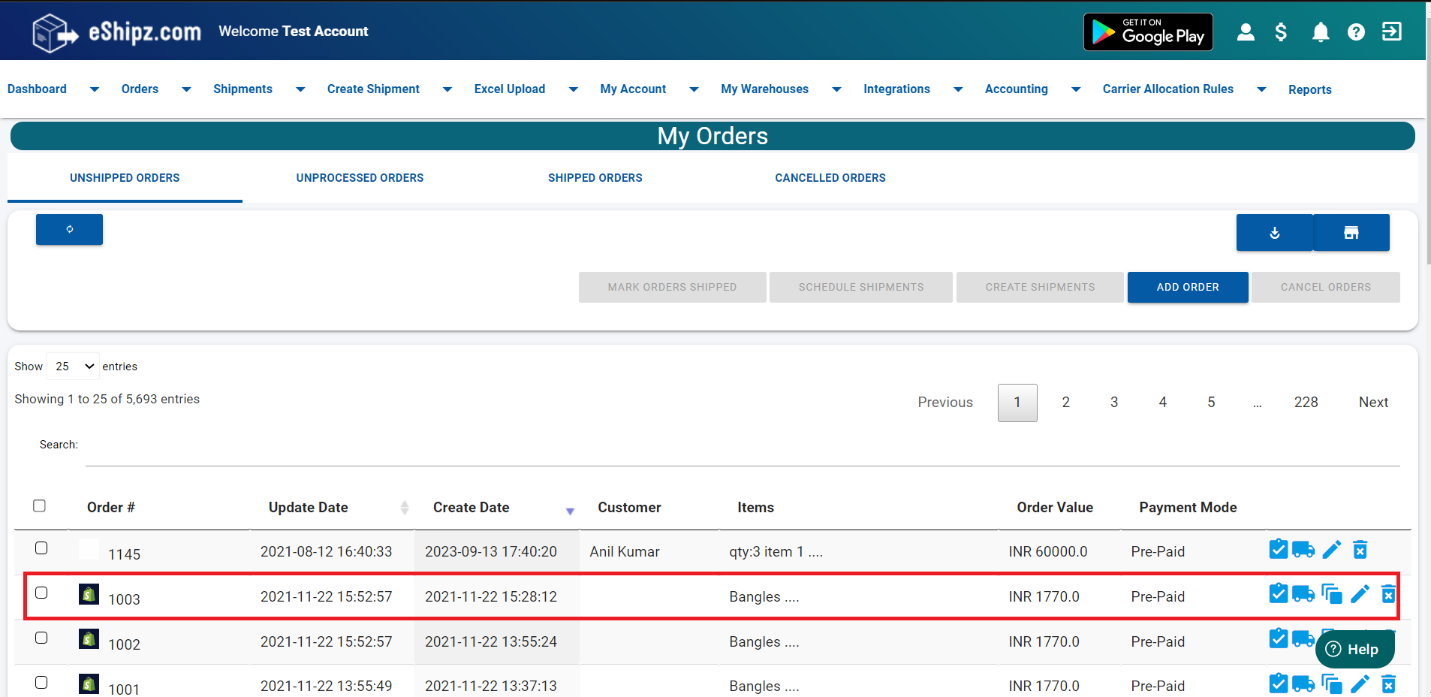
This is how you can sync the Sales channel orders into the eShipz platform and you are good to create shipments on the eShipz platform.
Related Articles
Steps for Prestashop Sales Channel integration
Step 1: Login to Prestashop, click on ‘Advanced Parameters’ and select ‘Webservice’. Step 2: On Webservice page click on ‘Add new webservice key’ button Step 3: Enable ‘All’ for the Resource under Permissions , preferably enter ‘eShipz’ under Key ...Integration for ERPNext with eShipz Platform
A Shipping Integration for ERPNext with eShipz Platform Features Creation of Shipment by Selecting the Service: Easily create shipments by selecting the desired service from eShipz. Rule-Based Shipment Creation: Automate shipment creation based on ...How to update status back to sales channel?
This FAQ helps explain how to update the status back to the sales channel (shopify, woocommerce etc), ensuring that the status reflects accurately on sales channel. Step-1: Log in to your eShipz account. Step-2: Go to the "Shipments Forward" section. ...Steps to integrate 1 mg with eShipz
Step 1: Login to eShipz account. Step 2: Navigate to settings. Step 3: Click on sales channel. Step 4: Click on 1mg. Step 5: on this page the user can upload the 1 mg orders file, once after uploading a validation message will be displayed stating ...Guide to integrate Zoho Inventory with eShipz
STEP 1: On the right top corner zoho inventory page we have ‘Settings’ click on that icon [Refer Image No: 1.1] Image No: 1.1 STEP 2: On the Settings page click on ‘Automation’[Refer Image No: 1.2] Image No: 1.2 STEP 3: On Automation page click on ...