Steps to integrate Woocommerce store with eShipz
Step 1: Login to woocommerce store and under dashboard click on woocommerce (refer image).
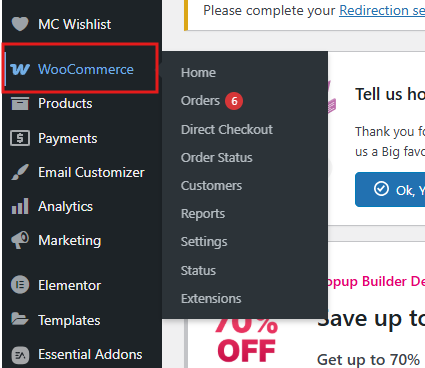
Step 2: Click on settings (refer image).
Step 3: Click on ADVANCED (refer image).
Step 4: Click on REST API (refer image).
Step 5: Click on Add Key (refer image).
Step 6: Create a new key named "eShipz" with read and write permissions, then click on "Generate Key." A new consumer key and consumer secret will be generated.
Step 7: Login to eShipz account.
Step 8: Navigate to settings and click on Saleschannel.
Step 9: Click on Woocommerce store.
Step 10: Copy and paste all the required details from woocommerce store: Store URL, Consumer secret, Consumer key, Status code and select the Woocommerce version as Wordpress(4.4 or later) Woocommerce(3.5.x or later).
Step 11: Click on save.
Woocommerce integration has been completed successfully.
Related Articles
How to integrate Store Hippo with eShipz?
Sep 1: In the Store Hippo home page click on ‘Settings’ icon. Step 2: In the Settings page click on ‘Access keys’ Step 3: In the Access keys page click on ‘Add New’ button. Step 4: After clicking on Add New button, under ‘User’ field enter valid ...Steps to integrate Shopify Sales Channel into eShipz platform
Introduction: This article provides a comprehensive, step-by-step guide to seamlessly integrate your Shopify store with the eShipz platform. By establishing this connection, you will unlock the full potential of eShipz's powerful logistics and ...How to Integrate Zoho Commerce store with eShipz?
STEP1: Login to the zoho commerce store , click on ‘Settings’ tab[Refer Image No:1] Image No:1 STEP2: Click on ‘Organization Profile’ [Refer Image No:2] Image No:2 STEP3: Copy the ‘Organization ID’ [Refer Image No:3] Image No: 3 STEP4: Go to eShipz ...Steps to integrate eShipz connector in Unicommerce
This guide provides the necessary steps to set up eShipz as a shipping provider within your Unicommerce (Uniware) account. This integration is essential for automating AWB generation, label printing, and tracking for orders processed through Uniware. ...Steps to integrate Easyecom B2C with eShipz
Step 1: Log in to your EasyEcom account (URL: easyecom.io). Step 2: Navigate to the Masters tab. Step 3: Click on the ‘Carrier’ tab. Step 4: Click on ‘Add New’ to create a new carrier entry. Step 5: Fill all the required details as follows: Carrier: ...