Steps to integrate Blue Dart Carrier
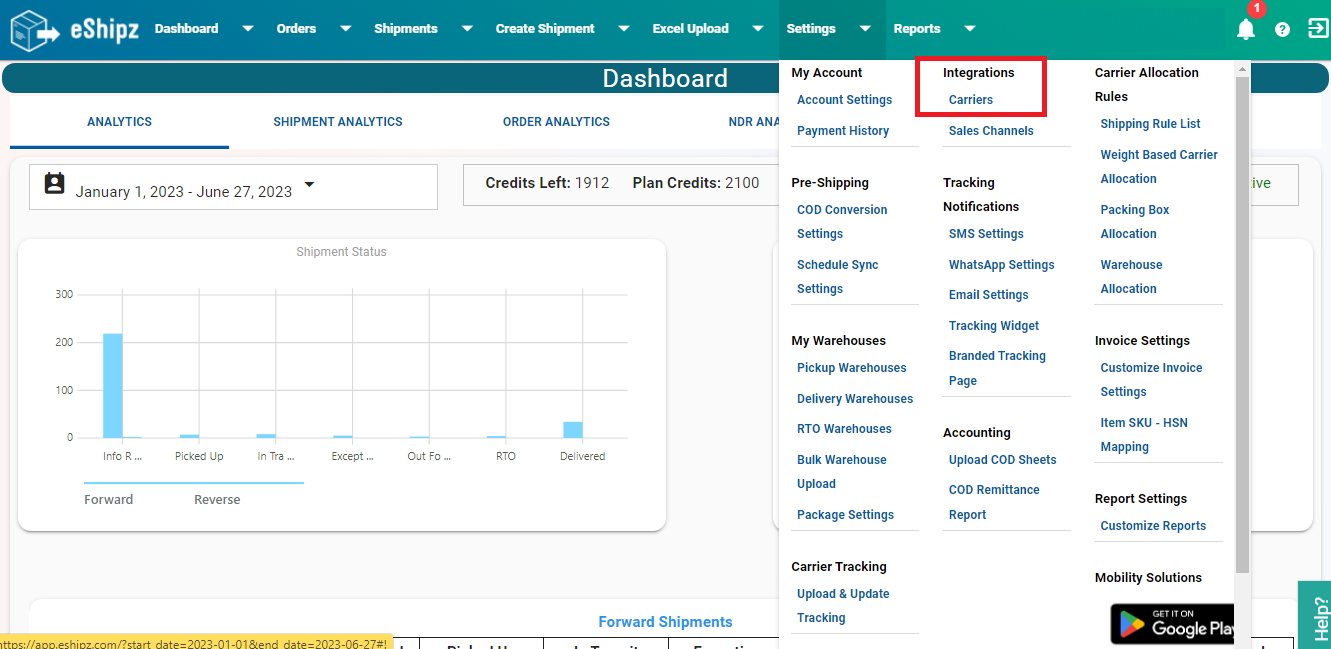
STEP 1:
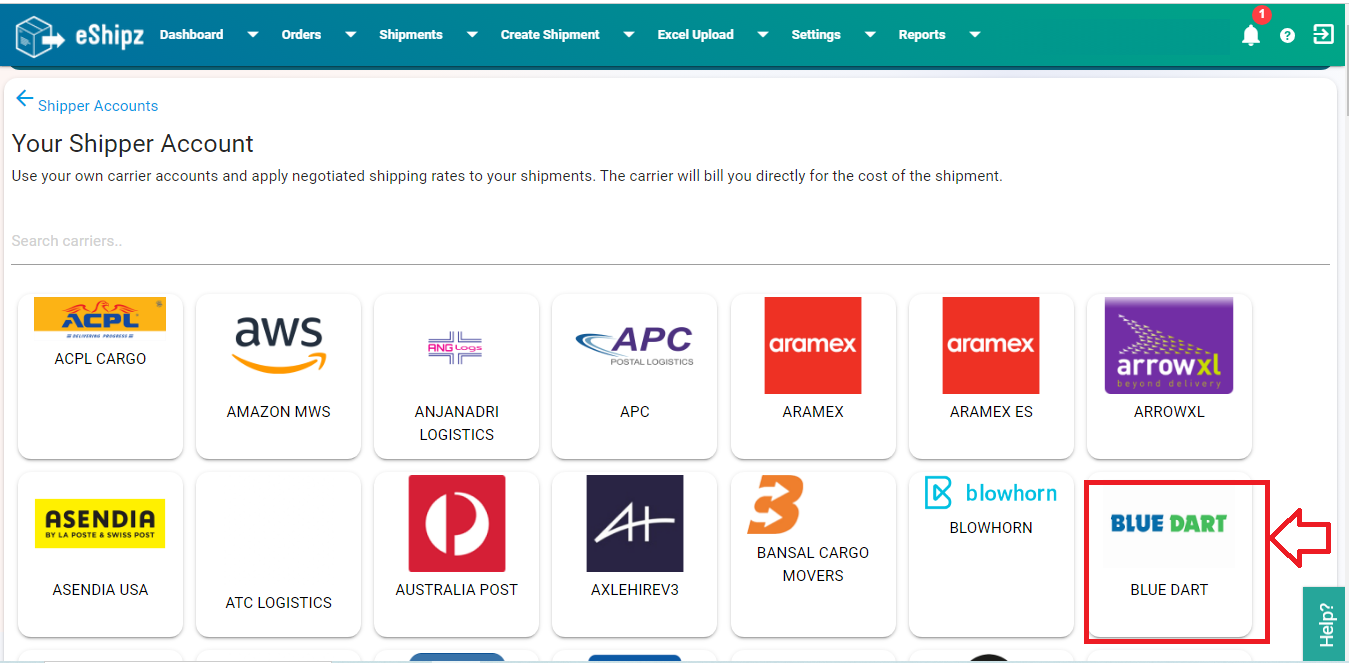
STEP 2:

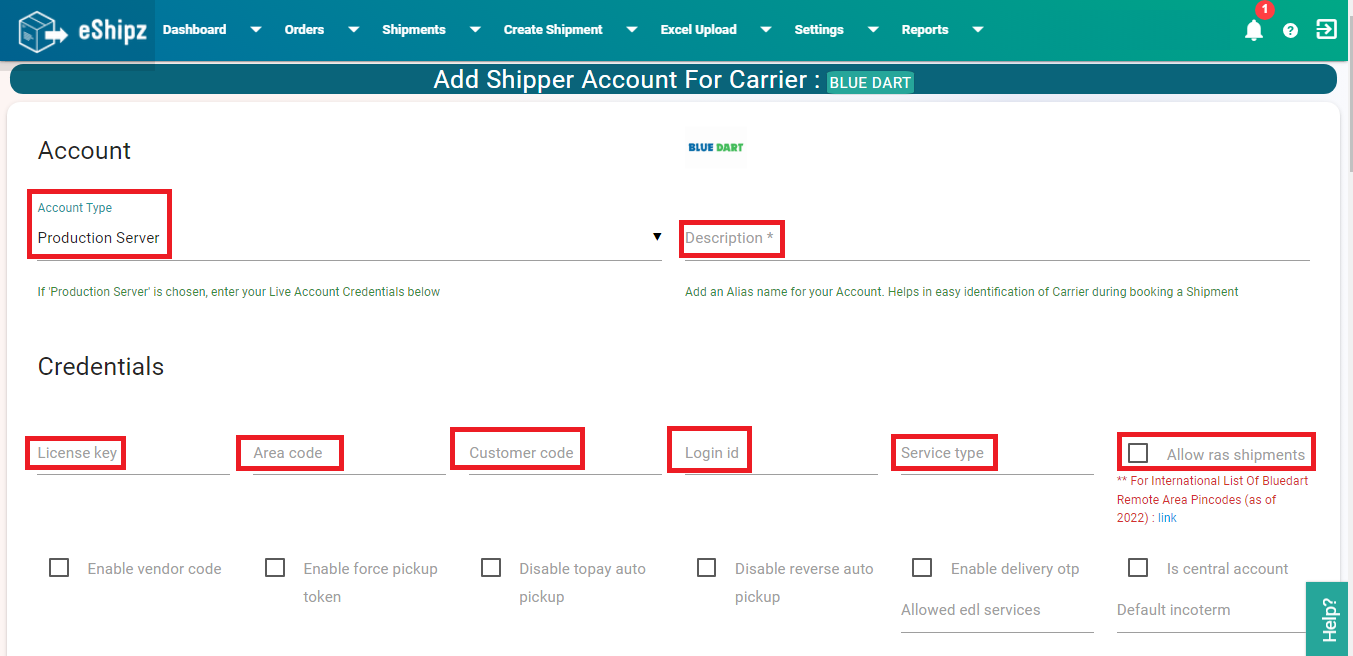
STEP 3:
For remote area delivery, check ‘Allow ras shipments’ checkbox for remote area destination pincodes, enabling this might cost an extra charge on shipping charge for remote area delivery.
In order to know the Remote Area Pincodes click on the ‘link’ which is just below the ‘Allow ras shipments’ check box.
STEP 5:
Enabling ‘Enable vendor code’ checkbox will be helpful to those customers who have multiple location pickup, if the checkbox is enabled a unique id gets passed on to Bluedart/Carrier systems which helps with identification during Billing
Selecting the ‘Enable force pickup token’ checkbox, will schedule the pickup automatically for the shipments created.
For ToPay shipments, pickup will be scheduled automatically, if you do not want to schedule auto pickup for ToPay shipments then select the ‘Disable topay auto pickup’ checkbox.
For reverse shipments pickup will be scheduled automatically for all reverse shipments, if one don’t want to schedule auto pickup for reverse shipments then enable ‘Disable reverse auto pickup’ checkbox
If the ‘Enable delivery otp’ checkbox is enabled, an OTP will be sent to the recipient by the courier company at the time of delivery which will be used for delivery confirmation.
For Blue Dart, users can ship only from the registered pickup warehouse location, if they want to ship from the location other than the registered location then they have select ‘ToPay shipments’, however for some customers they have provide all India pickup support as forward shipments, such customers need to enable the ‘Is central account’ checkbox, which symbolizes that the user can ship from any place to another within India as a forward shipment.

STEP 6:
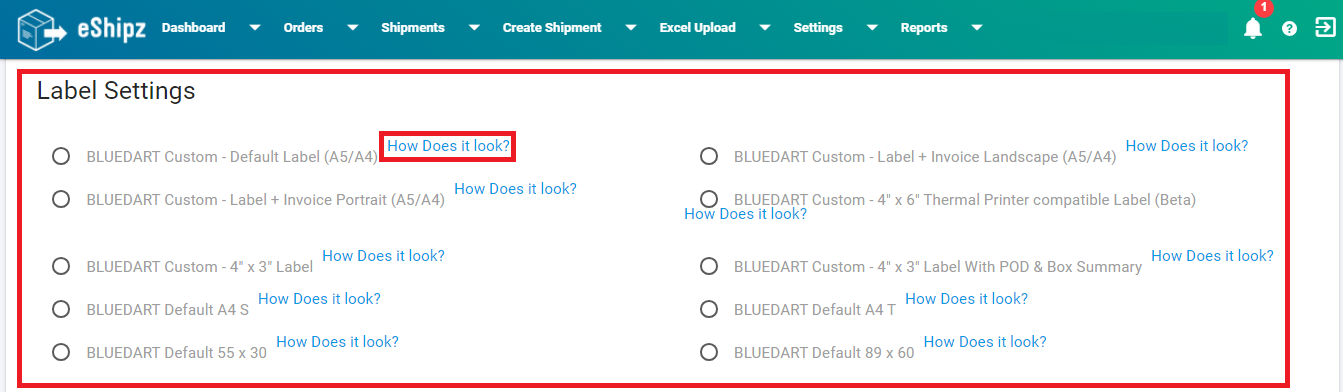
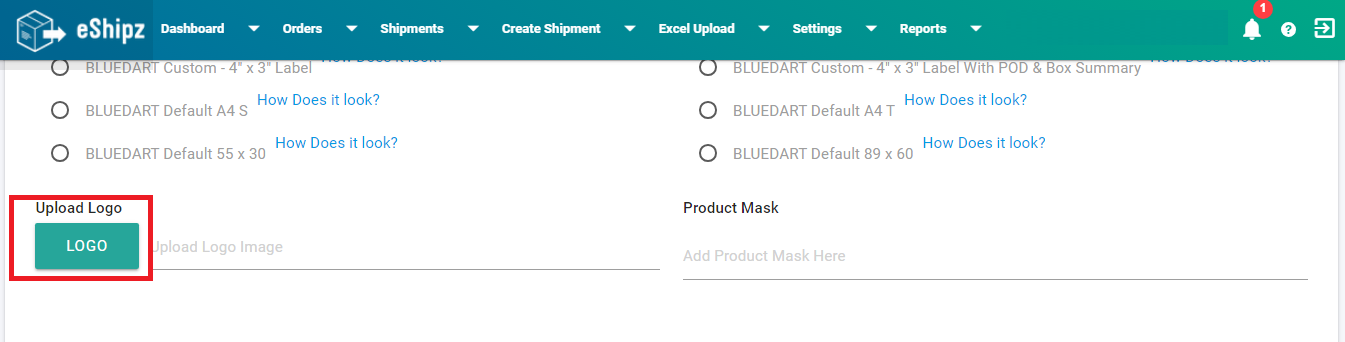
Label Settings: Under this tab there are several label formats mentioned, sample templates for the same can be viewed by clicking on ‘How Does it look?’, which is present just beside the format’s name, based on the format of the label required choose the options under ‘Label Settings’, if none of the options are selected then a default label will be generated in BLUE DART Custom-Default Label(A5/A4) format after shipment creation.
STEP 7:
STEP 8:
STEP 9:
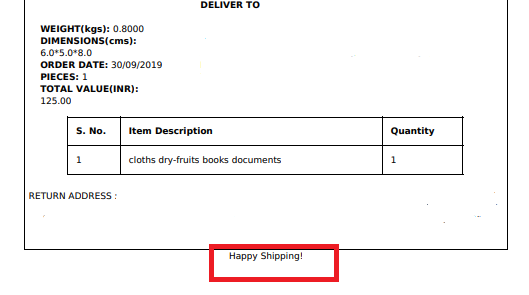
‘Message’, Data entered in this field will be displayed at the bottom of the label

STEP 10:
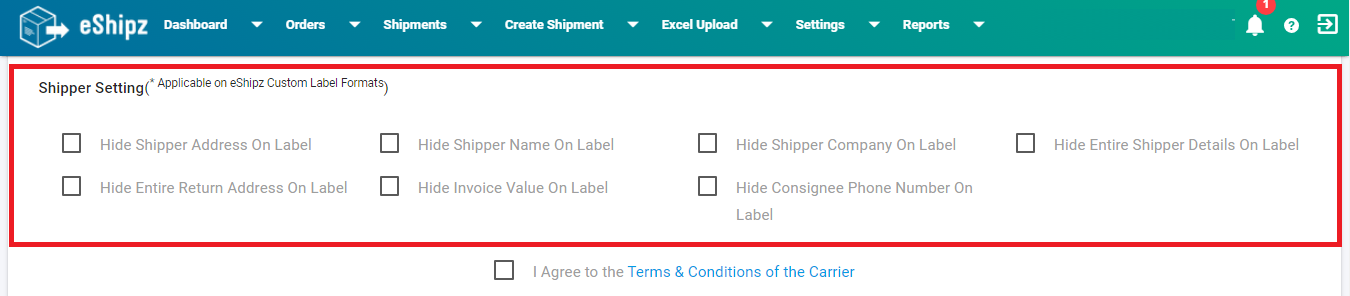
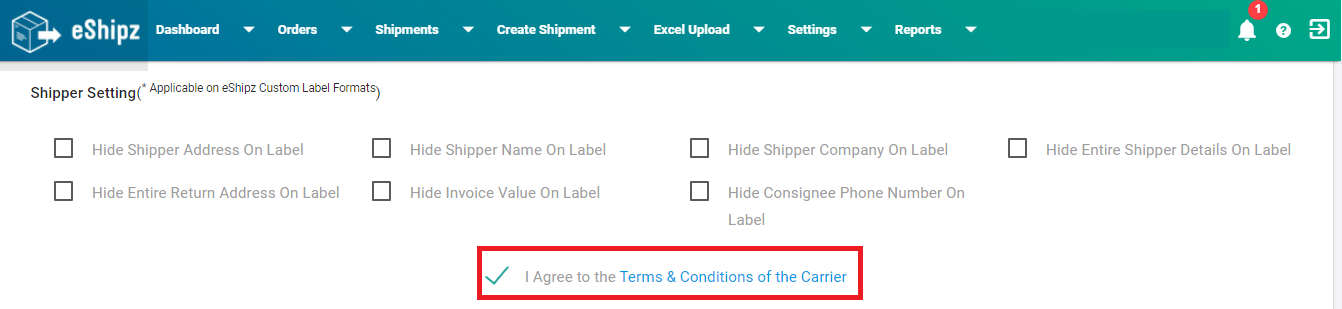
“Shipper Setting”
Enabling the ‘Hide Shipper Address On Label’ checkbox, hides the shipper address on the label i.e., shipper address will not be displayed on label.
Enabling ‘Hide Shipper Name On Label’ checkbox, hides shipper name on the label.
Enabling ‘Hide Shipper Company On Label’ checkbox, hides shipper company name on the label.
Enabling ‘Hide Entire Shipper Details On Label’ checkbox, hides entire shipper details on the label.
Enabling ‘Hide Entire Return Address On Label’ checkbox, hides the return address on the label.
Enabling ‘Hide Invoice Value On Label’ checkbox, hides the invoice on the label.
STEP 11:
Check the “I Agree to the Terms & Conditions of the Carrier” Checkbox and
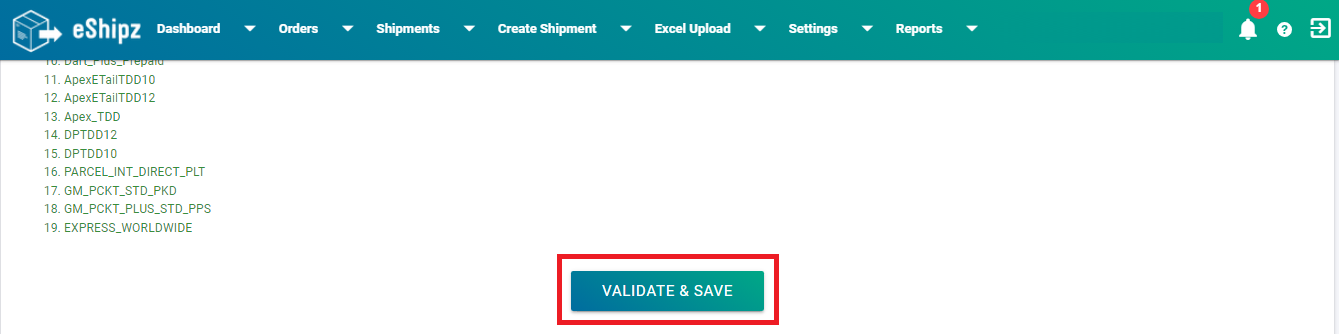
Click on “Validate & Save” button

Related Articles
Steps to integrate eShipz connector in Unicommerce
This guide provides the necessary steps to set up eShipz as a shipping provider within your Unicommerce (Uniware) account. This integration is essential for automating AWB generation, label printing, and tracking for orders processed through Uniware. ...Steps to integrate Expeditors Carrier
STEP 1: On eShipz platform dashboard, click on the “Settings” tab and under Integrations, select “Carriers”. Image: 1 Step 2: The “Shipper Accounts” page will now be displayed. Click the “+” icon visible at the top right corner. Image: 2 STEP 3: The ...Steps integrate PICOXPRESS carrier
Step 1: Log in to your eShipz account. Step 2: Go to Settings. Step 3: Click on Carriers. Step 4: The “Shipper Accounts” page will now be displayed, click on ‘+’ icon visible at the top right corner. Step-5: Select Picoxpress from the list of ...Steps to integrate INDIA POST OFFLINE carrier
Follow the steps below to integrate India Post Offline with your eShipz account.This is the B2C carrier. Step 1: Log in to eShipz Log in to your eShipz account using your credentials. Step 2: Navigate to Carrier Configuration Go to Settings. Click ...Steps to integrate DTDC LTL carrier
This article provides a comprehensive guide on how to integrate DTDC's Less Than Truckload (LTL) carrier services with your eShipz account. By following these steps, you can leverage eShipz's powerful multi-carrier platform to manage, track, and ...