Steps to integrate Delhivery Carrier
STEP 1:
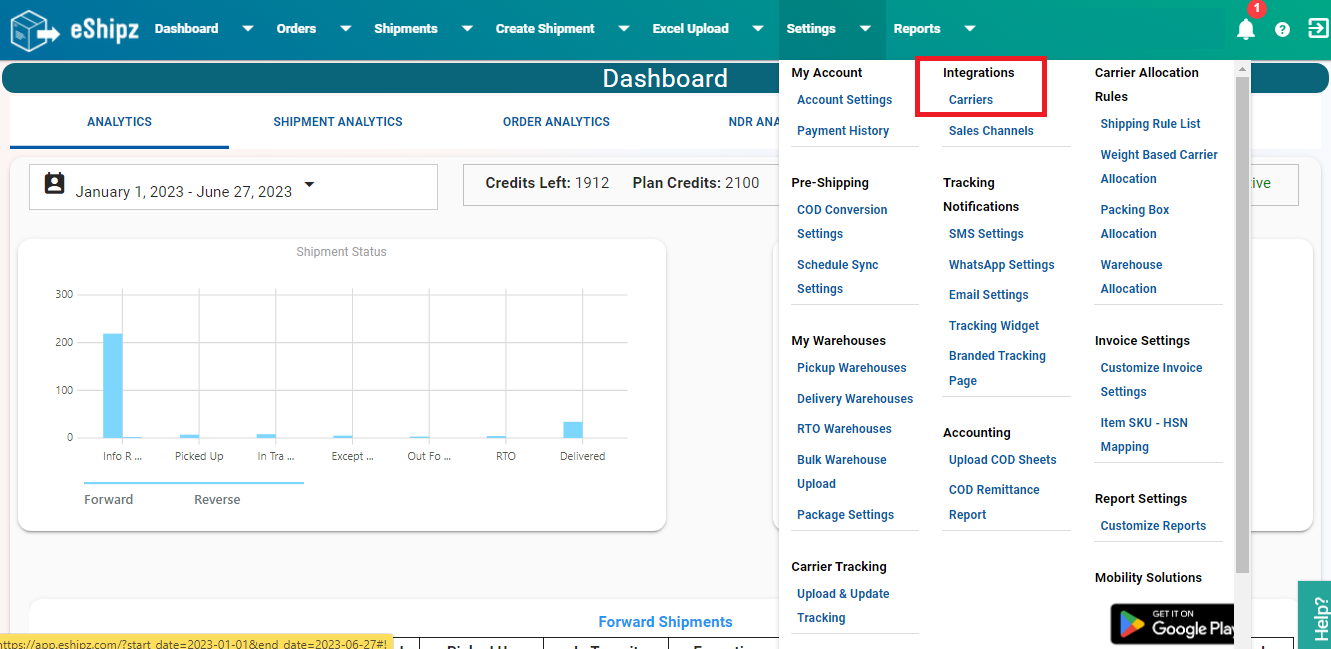
Image:1
The “Shipper Accounts” page will now be displayed. Click on the ‘+’ icon visible at the top right corner.

Image:2
The “Select Carrier” page will now be displayed and you can choose “DELHIVERY” carrier from the list.
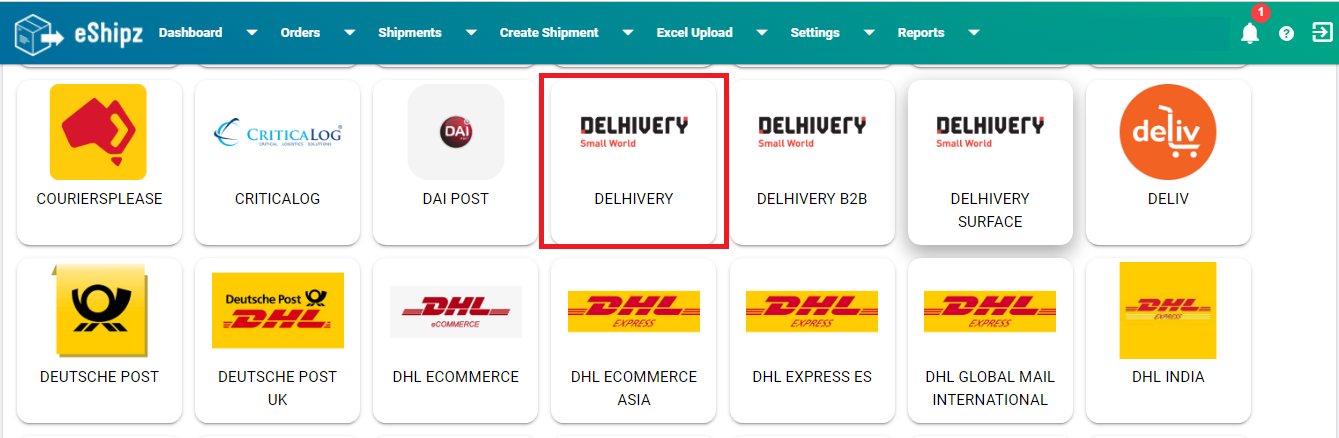
Image:3
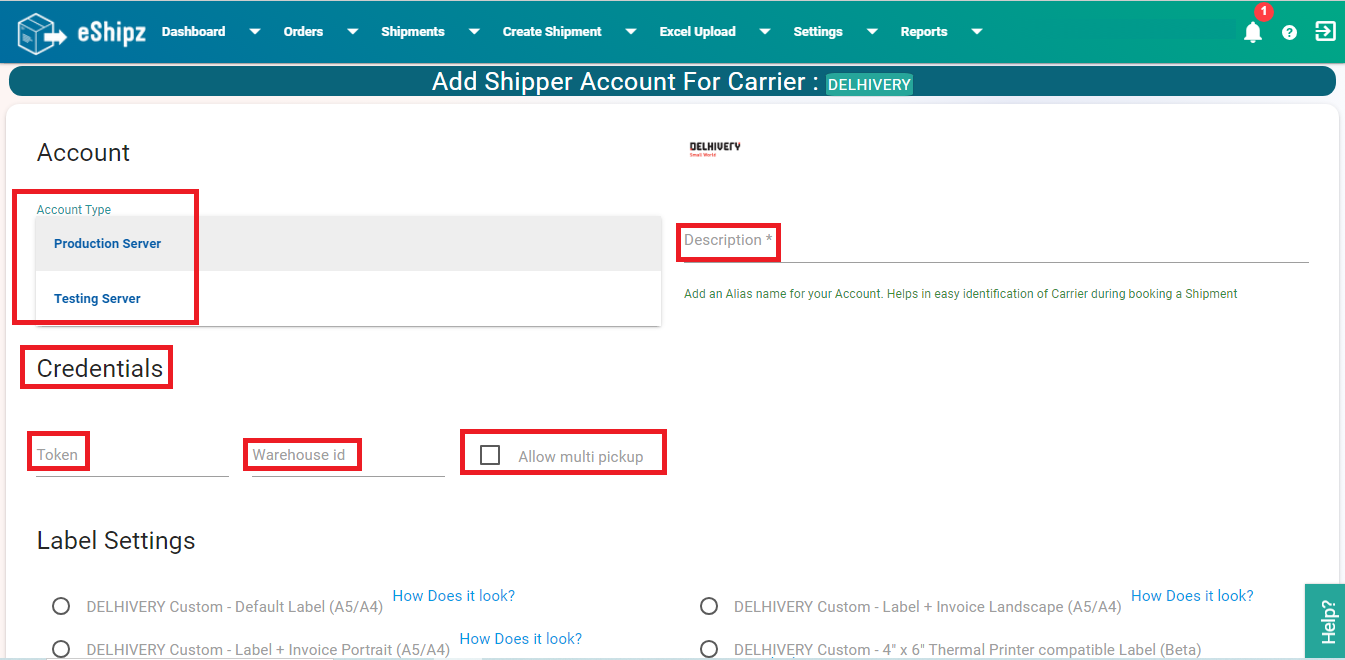
STEP 4:
“Add Shipper Account for Carrier” page will now be displayed.
Fill the valid details in ‘Account Type’, ‘Description’, ‘Token’, ’Warehouse id’ fields.‘Allow multi pickup’ checkbox: when the customer has more than one pickup warehouse location, then they will have to enable this checkbox.
Image:4
STEP 5:

Image:5
STEP 6:
Image:6

“Product Mask” - generally description of Items will be displayed on label. If the user wants to mask the items on the label with some specific name it can be done by entering the value on the Product Mask field in the shipper account page. In the label, data entered on the Product Mask field will be displayed instead of items being shipped.
Image:7

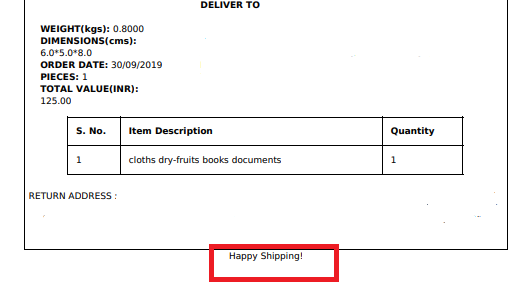
“Message”, data entered in this field will now be displayed at the bottom of the label refer Image:8.2.
Image:8.1
Image:8.2

STEP 9:
Enabling the “Hide Shipper Address On Label” checkbox, hides the shipper address on the label i.e., shipper address will not be displayed on label.
Enabling the “Hide Shipper Name On Label” checkbox, hides shipper name on the label.
Enabling the “Hide Shipper Company On Label” checkbox, hides shipper company name on the label.
Enabling the “Hide Entire Shipper Details On Label” checkbox, hides entire shipper details on the label.
Enabling the “Hide Entire Return Address On Label” checkbox, hides the return address on the label.
Enabling the “Hide Invoice Value On Label” checkbox, hides the invoice value on the label.
Image:9

Check the “I Agree to the Terms & Conditions of the Carrier” checkbox after reading the terms and conditions and click on the “Validate & Save” button.
Image:10.1
“Updated credentials Successfully!” message will be displayed on ‘Shipper Accounts’ page
Image:10.2

Related Articles
Steps to integrate Delhivery B2B Carrier
Step 1: Obtain the Delhivery panel credentials (registered email ID and password) from the customer. Log in to the account using the [Delhivery login link]. Step 2: After logging in, check the users available on the right-hand side of the account. ...Steps to integrate Delhivery Surface Carrier
STEP 1: On the eShipz platform dashboard, select the “Integrations” tab and in the dropdown click on “Carriers”. STEP 2: The “Shipper Accounts” page will now be displayed. Click on the ‘+’ icon visible at the top right corner. STEP 3: “Select ...Steps to integrate Expeditors Carrier
STEP 1: On eShipz platform dashboard, click on the “Settings” tab and under Integrations, select “Carriers”. Image: 1 Step 2: The “Shipper Accounts” page will now be displayed. Click the “+” icon visible at the top right corner. Image: 2 STEP 3: The ...Steps integrate PICOXPRESS carrier
Step 1: Log in to your eShipz account. Step 2: Go to Settings. Step 3: Click on Carriers. Step 4: The “Shipper Accounts” page will now be displayed, click on ‘+’ icon visible at the top right corner. Step-5: Select Picoxpress from the list of ...Steps to integrate INDIA POST OFFLINE carrier
Follow the steps below to integrate India Post Offline with your eShipz account.This is the B2C carrier. Step 1: Log in to eShipz Log in to your eShipz account using your credentials. Step 2: Navigate to Carrier Configuration Go to Settings. Click ...